
Microsoft and Google sign-in
On your premises: declare the application at Microsoft or Google, set it up in Deployer, watch the secret expiry.
Checked in the application on September 5, 2026
Deployer can open a session through Microsoft (Entra ID) or through Google, in addition to the password. On the hosted service, the operator has configured it. On an installation on your premises, the installation administrator declares the application at the provider, then fills it in Deployer, from an administration screen and without touching the server.
Who can Installation administrator
The screen is reserved to the installation administrator, not to a workspace role: signing in to Deployer belongs to no workspace. It opens from the avatar’s “Administration” menu, “Sign-in providers” entry.
What provider sign-in does, and does not do
- It opens a Deployer session. It never acts afterwards at the provider: no Microsoft or Google token is kept, Deployer never calls them back.
- The password remains possible. An account can have a password, a provider identity, or both; everyone links or unlinks theirs from their profile (see Getting started).
- Anyone in your directory can create a Deployer account by signing in. An account without a workspace membership has access to nothing: invitations are what open workspaces.
- An identity is only linked automatically to an existing account if the provider certifies the address. Otherwise, the person signs in with their password then links the provider from their profile.
Two ways to configure, and which one wins
| Source | When | What the screen shows |
|---|---|---|
| The server’s environment variables | The hosted service, or an installation that manages its variables. | “Environment variables”, read-only. |
| The administration screen | An installation on your premises: the administrator declares their own tenant without touching the server. | “Configured here”, editable. |
| None | The provider does not appear on the sign-in screen. | “Not configured”. |
The precedence rule is fixed: the variables are the default, what is saved in the screen wins. Two actions are not to be confused: disabling a provider (“Provider enabled” switch) turns it off for good, with no fallback on the variables; “Back to variables” deletes what was entered and hands back to the server.
The variables, for reference:
AUTH_MICROSOFT_ENABLED, AUTH_MICROSOFT_CLIENT_ID, AUTH_MICROSOFT_CLIENT_SECRET,
AUTH_MICROSOFT_HOST (https://login.microsoftonline.com by default),
AUTH_MICROSOFT_AUTHORITY (organizations by default), AUTH_MICROSOFT_ALLOWED_TENANTS
AUTH_GOOGLE_ENABLED, AUTH_GOOGLE_CLIENT_ID, AUTH_GOOGLE_CLIENT_SECRET
Microsoft, step by step
- Register the application in Entra
In your tenant’s Entra portal, create an app registration. As redirect URI, copy verbatim the Redirect URI the screen shows on the Microsoft card: it derives from your Deployer’s public address. On an installation on your premises, the registration is your tenant’s, single-tenant.

- Create the client secret
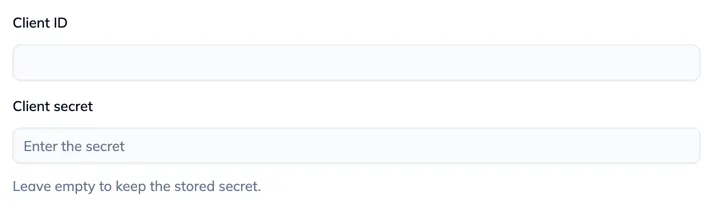
In the registration, create a client secret and note its expiry date: Entra offers 6 months by default, 24 at most. In Deployer, fill in the Client ID (the Application ID) and the Client secret. A saved secret is no longer shown: leaving the field empty keeps it.
- Set the authority and the tenants
Authority:
organizationsto accept any work directory, or your tenant id to accept yours only. Allowed tenants restrict, in addition, to a list; empty, all pass. The entry point (“host”) only changes for a sovereign cloud (login.microsoftonline.us, for instance).
- Have the addresses certified
For a Microsoft sign-in to link itself to an existing Deployer account, Entra must certify that the address belongs to your domain. That requires two settings in the registration: the
xms_edovoptional claim on the id token, declared through the manifest or the Graph API (the portal interface no longer offers it), and theemailclaim with theemailscope. The domain must be verified in the tenant. - Enter the expiry and enable
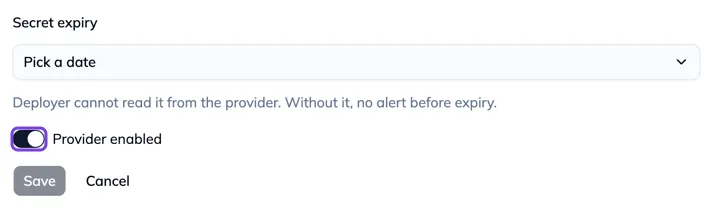
Fill in Secret expiry with the date noted at Entra: Deployer cannot read it from the provider, and without it nobody will be warned before the outage. Enable “Provider enabled”, then “Save”. The “Continue with Microsoft” button appears on the sign-in screen.
Google, step by step
- Create the OAuth client
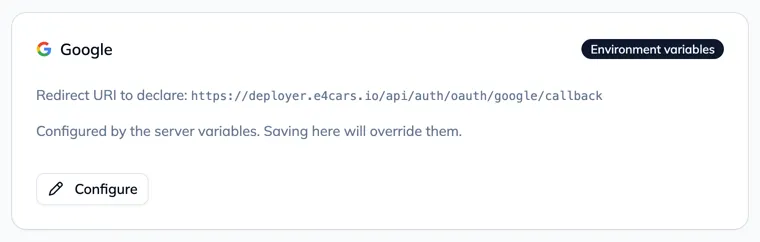
In the Google Cloud console, create an OAuth client of the Web application type, with the Redirect URI shown on the Google card as an authorised redirect URI. Google certifies addresses without any setting: automatic linking to an existing account works from the start.
- Fill in and enable
Client ID, client secret, secret expiry date if your organisation sets one, “Provider enabled”, “Save”. The “Continue with Google” button appears on the sign-in screen.

The secret expiry
A Microsoft client secret expires after 24 months at the latest. The day it dies, nobody signs in with Microsoft any more, and the symptom (“the provider could not confirm your identity”) arrives far from the cause. Deployer therefore watches the expiry entered in the screen and emails the installation administrators at 30, 15, 7 and 1 day. Two limits, written plainly on the screen:
- A configuration without an expiry date is not watched: “No expiry date: nobody will be warned before the outage.”
- A secret set through an environment variable is not watched either: an installation that manages its variables manages its expiries too.
Checking
Open the sign-in screen in a private window: the buttons of the enabled providers appear above the form, separated by “or”. Sign in with an account from your directory. The sign-in screen’s error messages, and what they mean, are in Getting started; the most common one after a first configuration is “The provider could not confirm your identity”, which signals a redirect URI that does not match the one declared at the provider.