
Create a workspace
The creation dialog, the choice of mode, the three-step wizard and the welcome checklist, up to a workspace ready to use.
Checked in the application on September 5, 2026
A workspace is created in a minute, then made usable in three steps of which only one is required: connecting GitLab. The rest is finished in the wizard, or later in the configuration.
Create the workspace
Who can ViewerProduct ownerDeveloperManagerAdministrator
Any signed-in user can create a workspace: they become its administrator, and gain no right anywhere else.
- Open the dialog
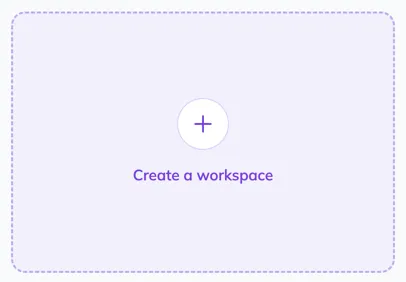
On the home page, click the dashed “Create a workspace” card at the end of the grid. With no workspace at all, a central button replaces it.
- Name the workspace
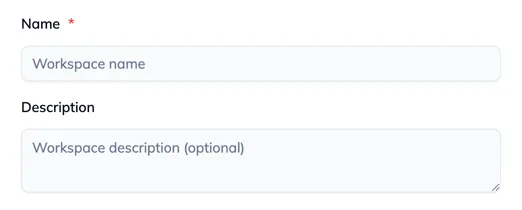
The Name is required, the Description free. Both can be changed later in the configuration.
- Choose the deployment mode
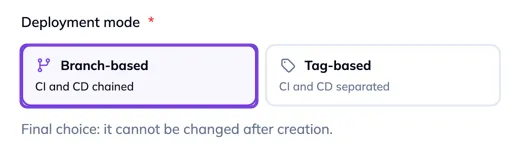
Branch-based or Tag-based. The right panel says, for the selected mode, what deployment, build, environment, versions and hotfix become, and reminds you in grey what the other mode would do. If you hesitate, the section The two deployment modes of the previous page compares them.
- Name the main branch
masteris suggested. Case matters, and the branch does not need to exist in your repositories yet: it is declarative. Then “Create”.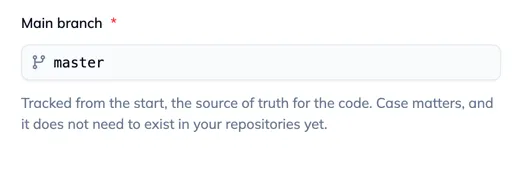
On creation, Deployer builds three things at once: the workspace, its main branch as the first tracked branch, and your membership as an administrator. You are then sent into the workspace, where the wizard is waiting.
The wizard: three steps, one required
Who can Administrator
The wizard opens on the first step not yet completed. A bar at the top shows the three steps and their badge, “Required” for the connection, “Optional” for the other two. “Skip this step” skips an optional step; “Back” returns to the previous one.
Step 1: GitLab connection
- Create the token on the GitLab side
Deployer acts on GitLab with a token that must have the
apiscope. If all your projects are in a single GitLab group, create a Group Access Token on that group. If they are spread across several groups, create a service account (a bot user, member of each group) and its personal token. Avoid a real person’s personal token: it breaks the workspace the day they leave.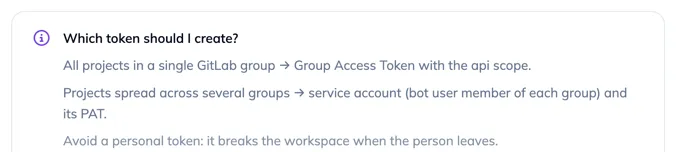
- Fill in the instance and the token
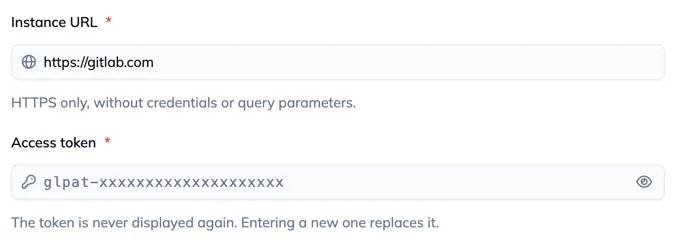
Instance URL over HTTPS, without credentials or query parameters. Access token as GitLab generated it. The token is never shown again afterwards.
- Test and connect
“Test and connect” checks the URL and the token against GitLab before saving them. On refusal, a red panel says which of the two is at fault: token refused, insufficient rights, unreachable instance, quota reached. Once the connection is established, the same button becomes “Continue”, and coming back to this step does not query GitLab again.
Step 2: Linked projects
The catalogue lists the GitLab projects the token can see, with a search and pages of twenty. GitLab returns no total: you browse page by page. Tick the repositories the workspace should drive, then “Link N projects”.
A linked project is a repository Deployer writes to: it pushes branches, creates tags and opens merge requests there. The project carrying your tickets usually has no reason to be one; it is declared elsewhere, as an issue source (see Configure a workspace).
Step 3: Environments
The step declares the deployment targets, in promotion order. Its shape depends on the mode.
Drag the rows to change the promotion order. The main branch is shown but cannot be changed here. Every action is sent immediately: there is no “Save” button in the wizard.
- Finish
“Finish and open the workspace” is enabled as soon as GitLab is connected. It takes you to the workspace home: the checklist if something remains to do, the Deployments screen otherwise.

The welcome checklist
As long as the workspace is connected but incomplete, its home shows “Finish the configuration”: three rows with their badge, a progress bar, and one button per row.
| Item | Badge while not done | What completes it |
|---|---|---|
| GitLab connection | REQUIRED | The saved connection. The card then shows the URL, the bot and the token prefix. |
| Link projects | RECOMMENDED | At least one linked project. |
| Declare environments | OPTIONAL | At least one environment. A tracked branch alone does not count. |
“Configure” reopens the wizard at the right step; “View” opens the matching configuration section. “Explore the workspace without finishing the setup” leads to Deployments: without that exit, an optional step never done would bring you back to the checklist on every arrival.
As soon as the workspace has a connection and at least one project, the checklist disappears: arriving in the workspace opens Deployments directly.
What comes next
The workspace is created, connected and linked. What remains is what the wizard does not do, and which is set in the configuration: the allowed source branches and the variables of each environment, the naming patterns for tags and hotfix branches, the issue sources, the OAuth application. And the team, invited from the Members screen.
A workspace created by mistake is deleted from the danger zone of the configuration, by retyping its name, or from its card menu on the home page.